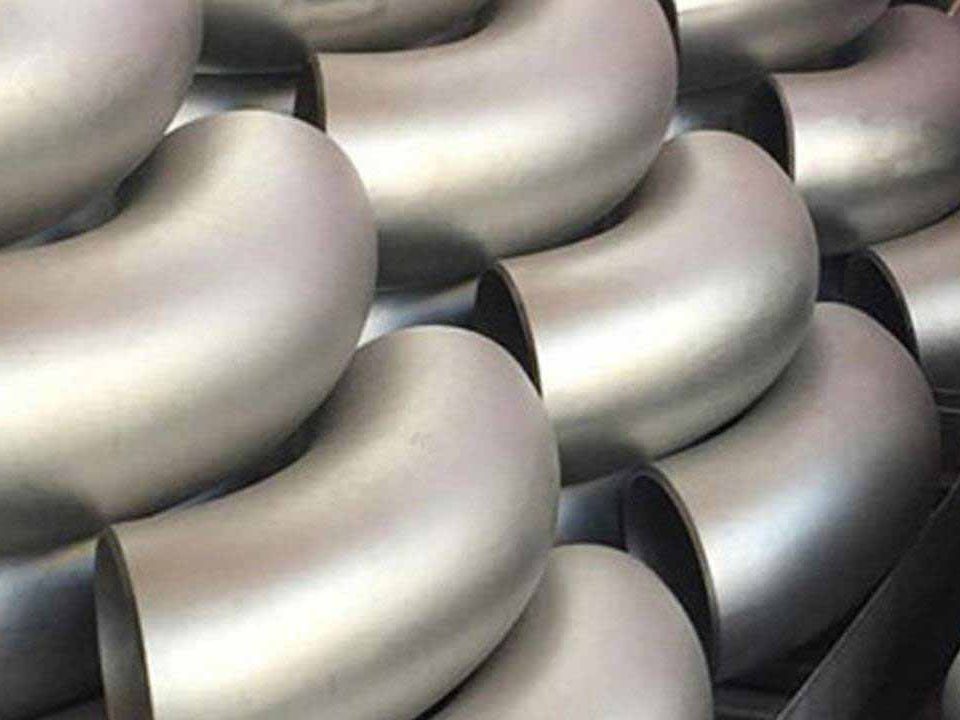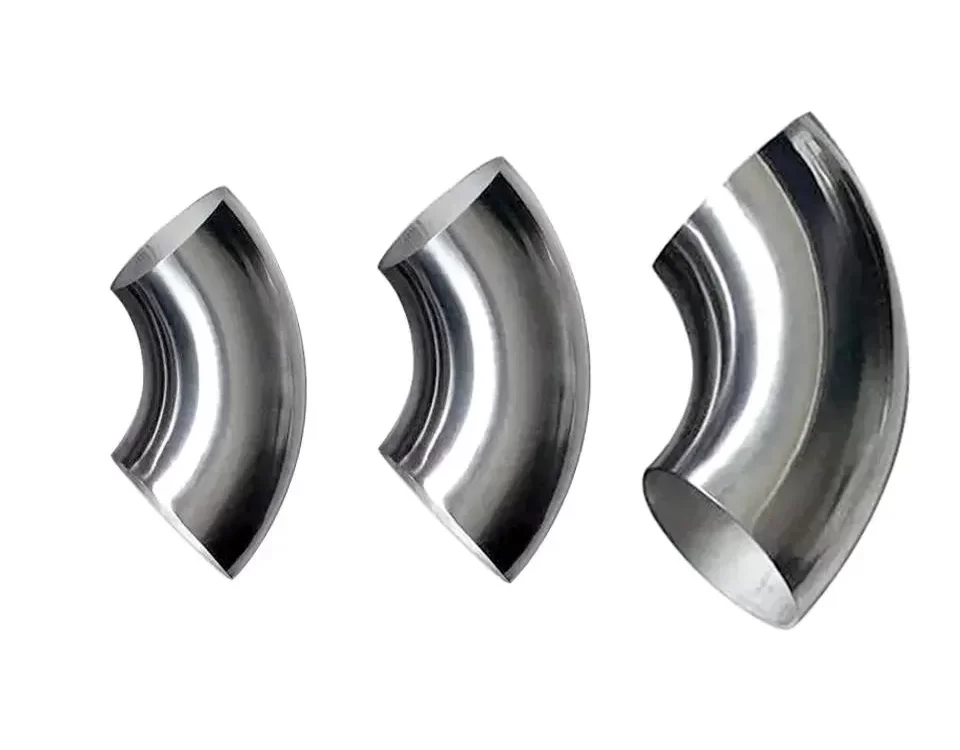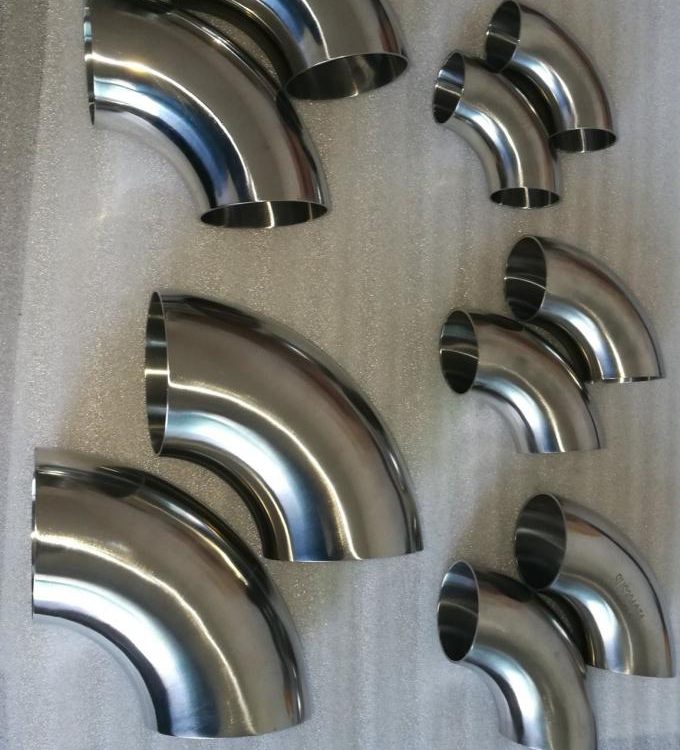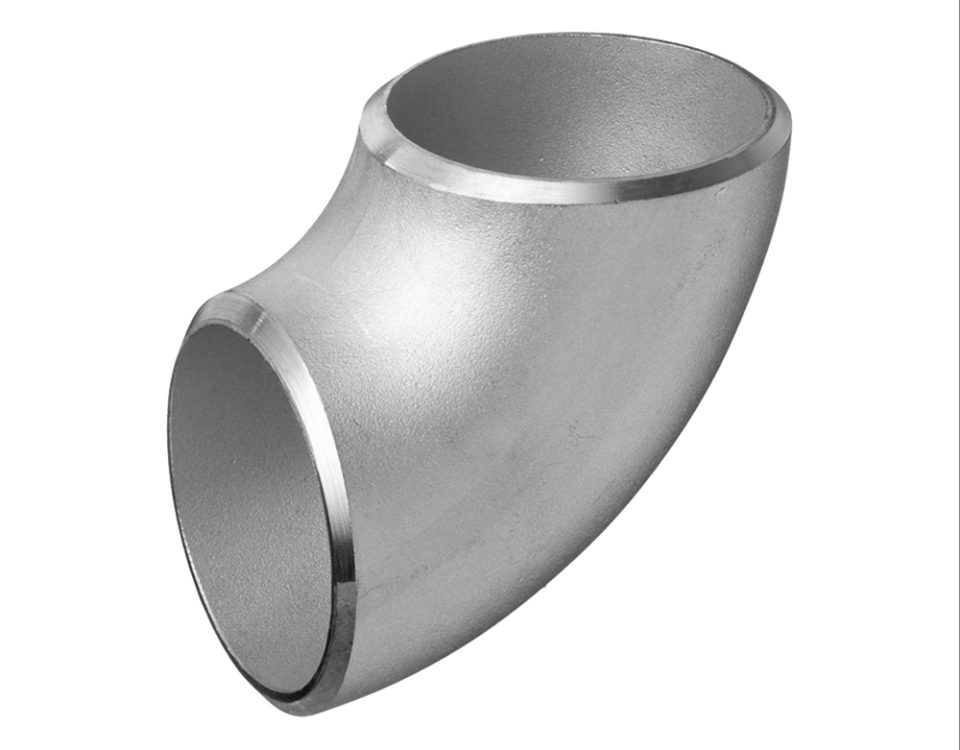
STAINLESS STEEL PIPE ELBOW – BUTT WELD BEND
November 21, 2023
large diameter Rectangular Steel Pipe manufacturing Method – PART 1
November 25, 2023Guide to Butt Welding Steel Pipe Elbows
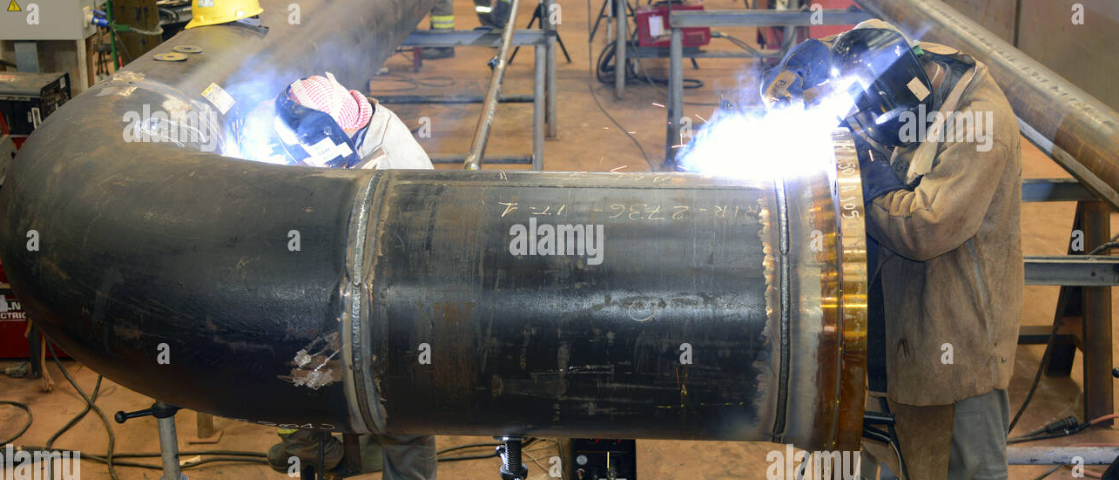
Butt welding is a commonly used method for joining two sections of pipe together, including pipe elbows. This process involves aligning the two sections and then heating them until they can be fused together. Below is a step-by-step guide on how to butt weld steel pipe elbows.
Equipment Required
Welding machine
Welding helmet
Welding gloves
Protective clothing
Angle grinder (for beveling and cleaning)
Welding rods or wire (depending on the welding process used)
Pipe clamps or vice
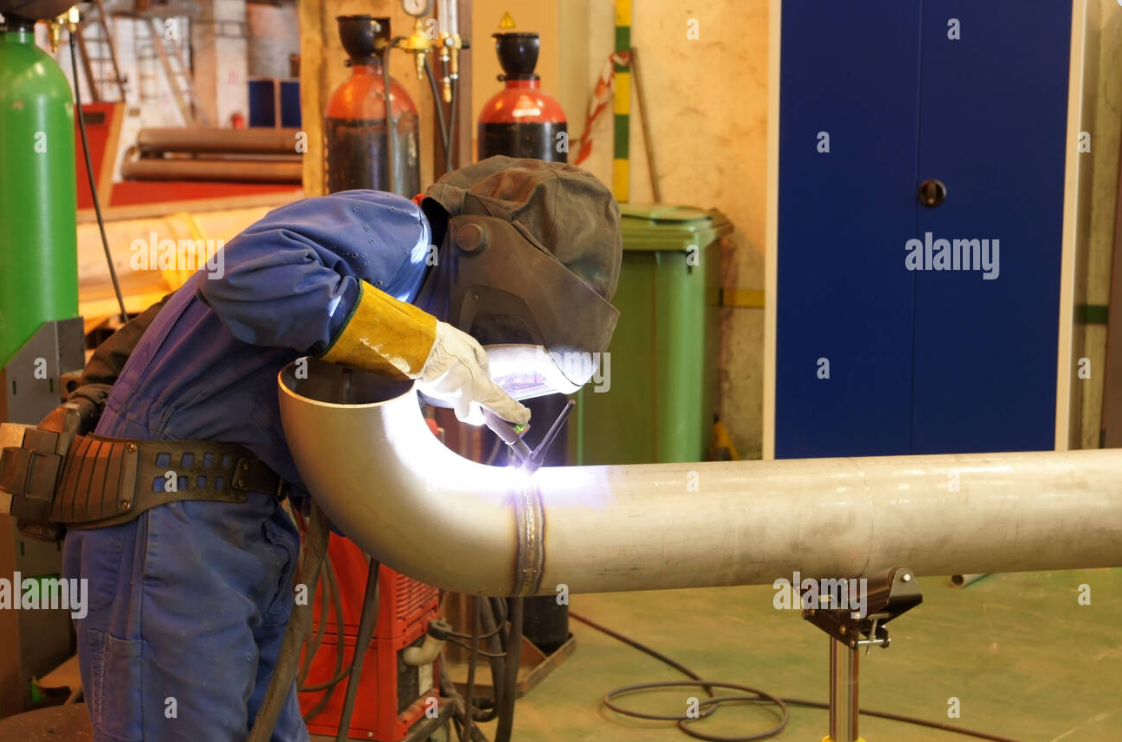
Here’s a step-by-step guide on how to use butt weld technology for welding steel pipe elbows:
Step 1: Safety First
Ensure you’re equipped with proper safety gear, including a welding helmet, gloves, and protective clothing. Ensure the work area is well-ventilated to dispel welding fumes.
Step 2: Preparation
Prepare the ends of the pipes by cleaning them thoroughly to remove any dirt, grease, or rust. This is crucial as any contaminants can weaken the weld.
Step 3: Beveling
The pipe ends need to be beveled to create a V-shaped groove. This groove allows for greater penetration of the weld, creating a stronger joint. The beveling angle generally lies between 30 and 37.5 degrees.
Step 4: Alignment
Align the two pipe ends that you want to join. They should be correctly positioned to ensure a clean, strong weld. Any misalignment can result in a weak weld and potential failure under stress.
Step 5: Tack Welding
Perform a tack weld at two to four points around the circumference of the pipes to hold them in place. These temporary welds stabilize the pipes during the final welding process.
Step 6: Welding
Now, perform the full weld. Start at the bottom of the pipe and work your way up to the top, ensuring the entire groove is filled with weld material. You can use a variety of welding methods, such as shielded metal arc welding (SMAW), gas tungsten arc welding (GTAW), or gas metal arc welding (GMAW), depending on your specific requirements.
Step 7: Inspection
After welding, visually inspect the joint to ensure there are no visible defects. Non-destructive testing methods like ultrasonic testing or X-ray inspection might be necessary for critical applications.
Step 8: Cleaning
Once the weld has cooled, clean the weld area to remove any slag or residue.
Remember that welding should always be performed by a trained professional. If you’re unsure, seek advice or assistance from someone with experience in the field.
Related posts
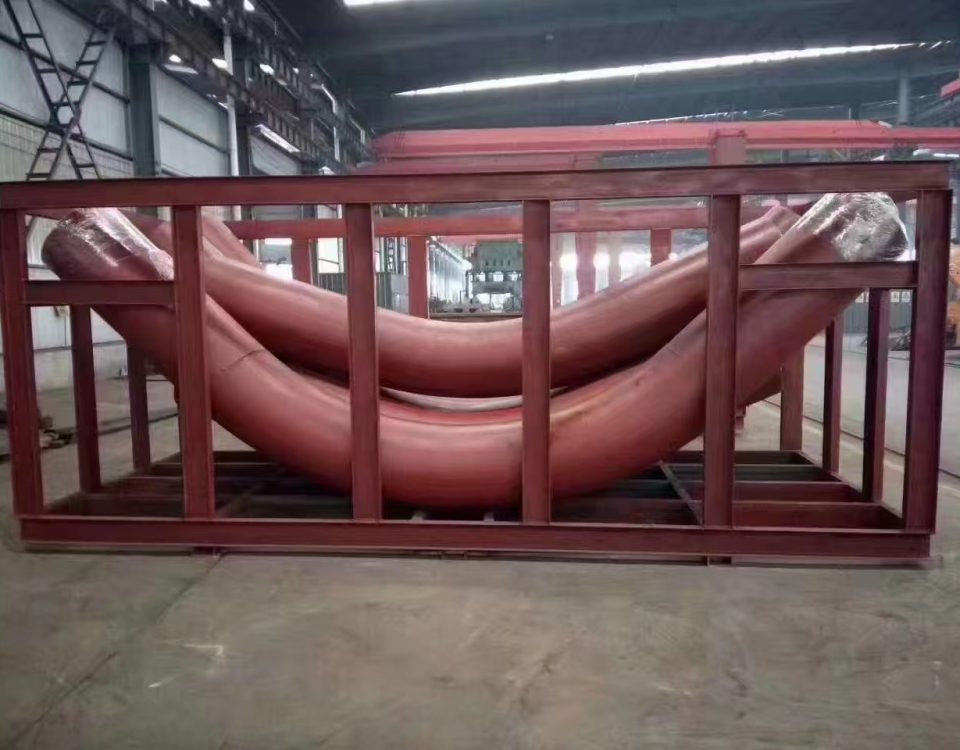
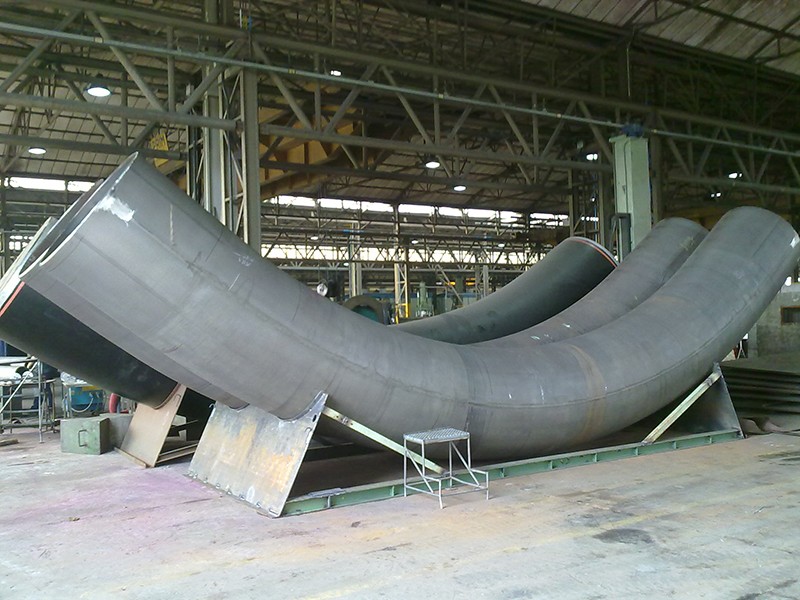
Induction bends come in standard bend angles (e.g. 45°, 90°, etc.) or can be custom made to specific bend angles. Compound bends (out-of-plane) bends in a single joint of pipe can also be produced. The bend radius is specified as a function of the diameter. For example, common bend radii for induction bends are 3D, 5D and 7D, where D is the nominal pipe diameter.
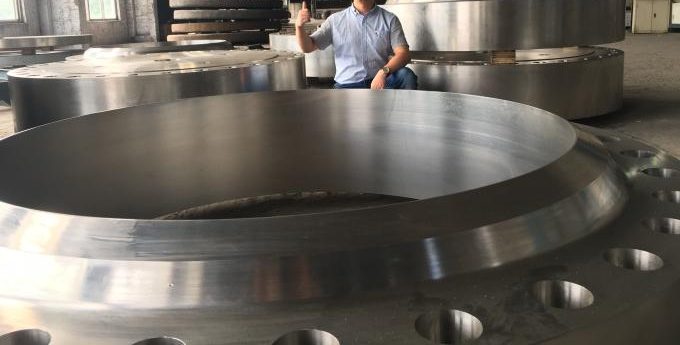
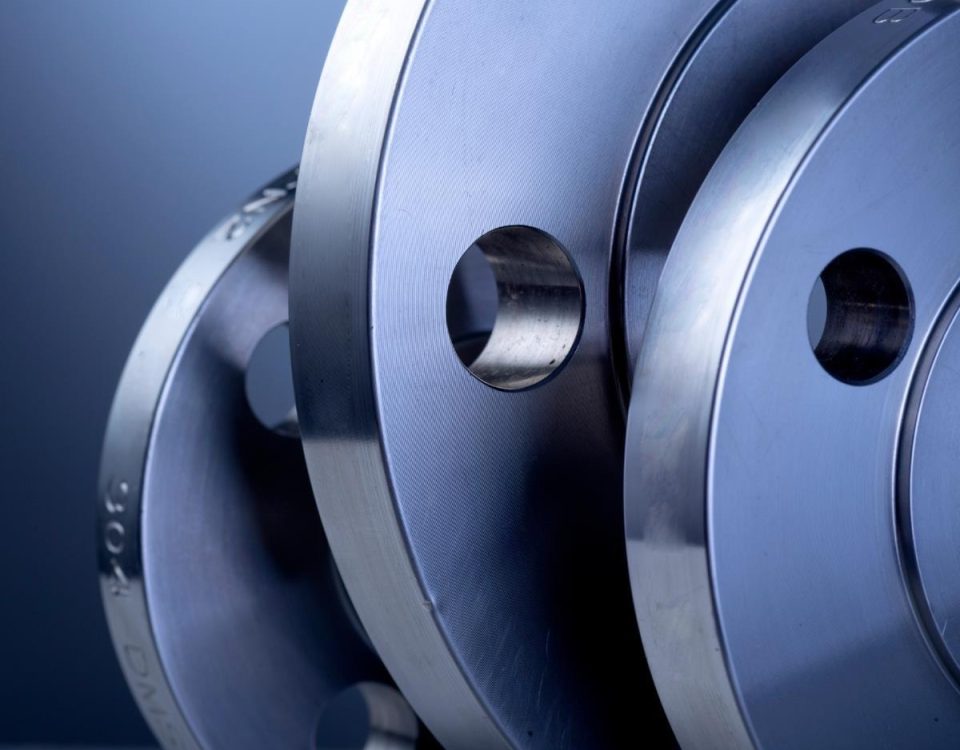
Duplex 2205 and Super Duplex 2507 stainless steel flanges are characterized by their high yield strength, which is twice that of the annealed yield strength of typical austenitic stainless steels, like 304 and 316 stainless steel flanges. Because of this, Duplex 2205 and Super Duplex 2507 steel are some of the most common grades of duplex used for flanges with Super Duplex 2507 flanges being the more corrosion resistant grade of the two.

