Introduction to the knowledge of seamless steel pipes and welded pipes
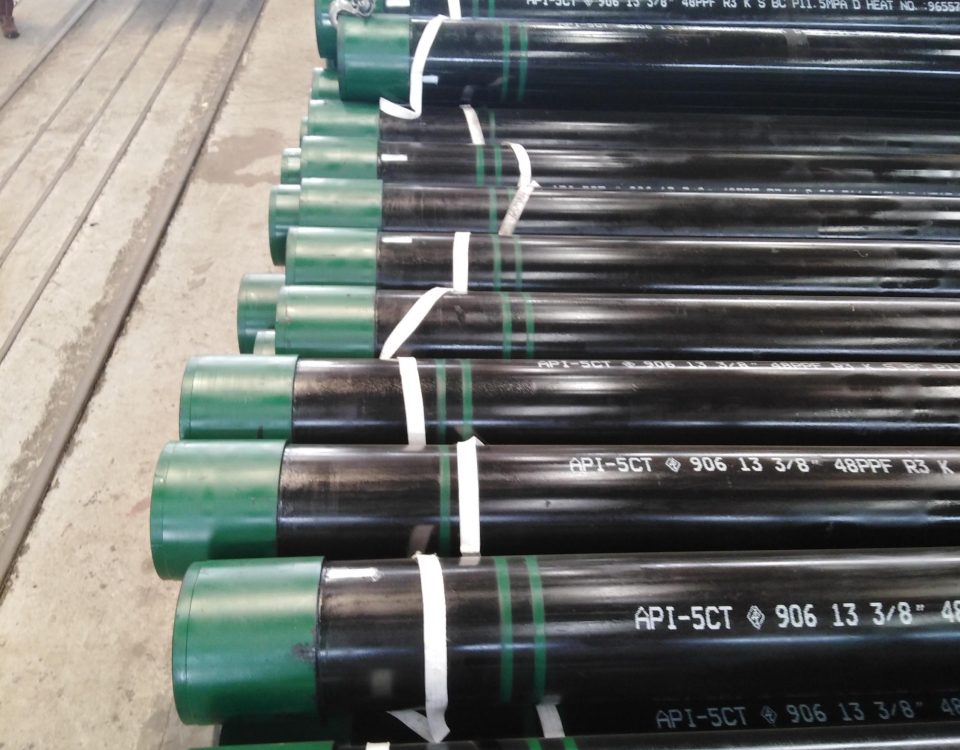
February 8, 2022Detailed explanation of tubing and casing markings
February 22, 2022bevel diameter
Rotary shoulder connection seals the outer diameter of the shoulder.
defect
Defects of sufficient size are the basis for product rejection in accordance with the guidelines set forth in this International Standard.
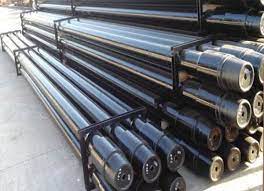
drill pipe
Drill pipe body with butt welded joints.
drill pipe body
There are seamless steel pipes with thickened sections at both ends of the pipe body.
drill pipe body manufacturer
A factory, company or enterprise that operates a drill pipe body manufacturing plant and is responsible for compliance with the requirements of this International Standard applicable to drill pipe body.
drill pipe manufacturer
The factory, company or enterprise responsible for compliance with all applicable requirements of this International Standard.
drill pipe torsion strength ratio
The torsional strength of the drill pipe joint connection divided by the torsional strength of the drill pipe body.
drill-pipe weld neck
The machined part of the drill pipe, including the weld neck of the drill pipe joint, the weld seam and the thickening of the drill pipe body.
wrinkled (wrinkled skin) elephant hide
Wrinkles appear on the surface of the outer diameter of the drill pipe pipe caused by the upsetting process.
essential variable
Variation of variable parameters affecting the mechanical properties of welded connections.
gouge
Elongated grooves or cavities created by machining metal.
Hard banding on the surface of drill pipe joint
Applying material to the drill pipe joint reduces external wear on the drill pipe joint.
Note: Also known as case hardening.
hardness number
Results of single hardness test indentation.
furnace heat
heat of steel
Metal produced by a single cycle of a batch melting process.
heat analysis
The chemical analysis reported by the metal producer represents a furnace.
lack of imperfection
A discontinuity in a product wall or product surface that can be detected by the NDE method contained in this International Standard.
indication
A discontinuity that requires explanation to determine its meaning.
inspection inspection
The process of measuring, inspecting, testing, metering, or otherwise comparing a product to applicable requirements.
Code 1 label 1
Dimensionless identification of drill pipe body sizes that can be used at the time of purchase.
Code 2 label 2
A dimensionless identification of the mass of drill pipe body per unit length that can be used at the time of purchase.
linear imperfection
Linear imperfections include, but are not limited to, splits, folds, cracks, scratches, cuts, gouges, and creases
batch lot
A certain number of products manufactured under the same conditions of the characteristics to be inspected.
batch lot size
The number of units of product in a batch.
manufacturer
One or more of the following manufacturers only determined in context: drill pipe manufacturer, drill pipe body manufacturer, or drill pipe joint manufacturer.
mean hardness number
The average hardness of the individual specimens or locations evaluated.
non-essential variable
Variable parameters in WPS that can be changed without requalification.
non-linear imperfection
Nonlinear imperfections include, but are not limited to, pitting.
pipe body
Excludes thickening and thickening-affected areas of seamless steel pipe.
procedure qualification record
PQR
A written document stating the evaluation of a particular WPS producing welds in accordance with the requirements of this International Standard.
product product
Drill pipe, pipe body or pipe joint.
purchaser
The party responsible for determining product order requirements and paying for that order.
quench crack
During the transformation from austenite to martensite, the resulting stress causes cracks in the steel.
NOTE: This transition is accompanied by an increase in volume.
rotary shouldered connection
Threaded connections with tapered threads and sealing shoulders for drill string components.
rotary friction welding
Solid state welding of the workpieces in rotational pressure contact relative to each other along a common axis to increase temperature and plastically displace material from the wear surface.
NOTE: Radial friction welding or inertial friction welding are acceptable.
sample sample
One or more products selected from a batch that are representative of the batch.
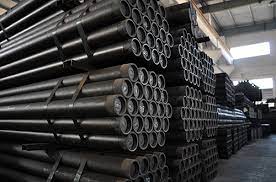
seamless pipe
Forged steel pipe products without welds.
NOTE: Seamless steel tubes are manufactured by hot working, followed by cold working or heat treatment, or both, as necessary, to produce the desired shape, size, and properties.
Drill pipe joint tool joint
Forged or rolled steel designed to be welded to the drill pipe body and have a rotating shoulder connection.
Drill pipe joint female thread tool joint box
A threaded connection with internal threads on a drill pipe joint.
tool joint manufacturer
A factory, company or enterprise that operates a drill pipe joint manufacturing plant and is responsible for compliance with the requirements of this International Standard applicable to drill pipe joints.
Tool joint pin
A threaded connection with external threads on a drill pipe joint.
Thicken ovality upset ovality
The difference between the largest diameter and the smallest diameter in the plane perpendicular to the thickening axis.
weld zone
The area including the weld and heat affected zone on both sides of the weld caused by friction welding and subsequent heat treatment processes.
welding machine and welder performance qualification
WPQ
Written procedure used to demonstrate that welders and welder operators can jointly use WPS to produce welds that meet the requirements of this International Standard.
NOTE: It includes identification test records.
welding procedure specification
WPS
Written procedure that provides instructions for welding operators to make production welds in accordance with the requirements of this International Standard.
NOTE: This includes all basic and non-essential variables for friction welding the drill pipe joint to the drill pipe body. All those welds to which WPS applies, where the dimensions and chemical composition specified for each member are the same, are grouped according to a documented procedure that will ensure a predictable weld zone treatment response for a particular grade.
Symbols and Abbreviations
Adp drill pipe body cross-sectional area, based on specified dimensions of the body
A Cross-sectional area of tensile specimen, mm2 (in2)
A Neck length, mm
Aw weld zone minimum cross-sectional area
D Drill pipe joint outside diameter (female and male threads)
Cm Standard Charpy impact energy, J
C Standard Charpy Impact Energy, ft-lb
Ddp drill pipe outer diameter
Df Chamfer diameter (internal and external threads)
Dj Drill pipe joint neck outside diameter, will become Dte after welding and final machining
D round bar diameter
Dte Drill Pipe Weld Machined Outside Diameter
The outer diameter of the thickened part of the Dou drill pipe body
ddp drill pipe inner diameter
dj drill pipe joint neck inner diameter, will become dte after welding and final machining
dp drill pipe joint male thread inner diameter
Machined inside diameter of dte drill pipe weld
dou The inner diameter of the thickened part of the drill pipe body
EU extra thick
e Minimum elongation at gage length 50.8 mm (2.0 in)
em Minimum elongation
ew increase or decrease in mass of the drill pipe body due to end machining. For plain end unthickened pipe, ew is equal to zero
G gauge length
ID inner diameter
IEU thickening inside and outside
Thickening inside IU
L Butt-weld pipe length (shoulder to shoulder)
Lb The outer diameter of the drill pipe joint with internal thread, including the connection chamfer and the hard ring on the surface of the drill pipe joint; the thickening length of the Leu drill pipe body
Liu drill pipe body thickening length
Lpb outer diameter length of external thread drill pipe joint, including connection chamfer; see Figure B.1 and Figure B.12
Lpe drill pipe body length (without drill pipe joints)
meu drill pipe external thickening vertebral length
miu drill pipe body thickened cone length
N fractions or numbers with fractions
NDE non-destructive testing
OD outer diameter
PQR Process Qualification Record
PSL Product Specification Level
R Minimum corner radius
RSC Rotary Shoulder Connection
Ts tensile strength
t Drill pipe body wall thickness
U thickened size
Udp minimum specified tensile strength
UT Ultrasonic Testing
W width
WL Approximate calculated mass of a drill pipe body of length Lpe
WPQ Welder Skills Appraisal
WPS Welding Procedure Specification
Approximate mass per unit length of wdp drill pipe
wpe flat end drill pipe body unit mass (without thickening)
Minimum yield strength specified by Ymin
Yw weld zone yield strength
