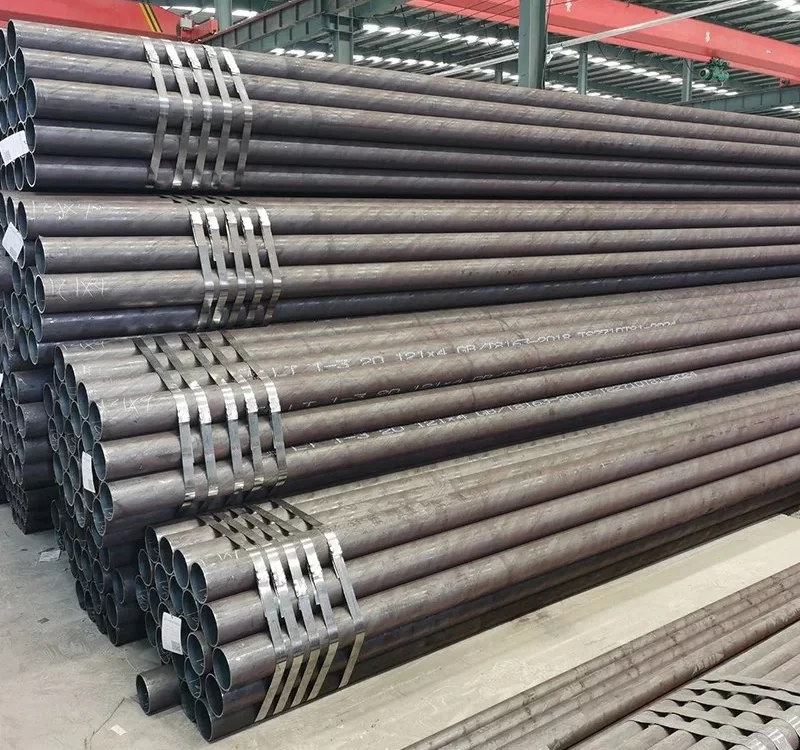
Quality requirements for seamless steel pipes
July 15, 2022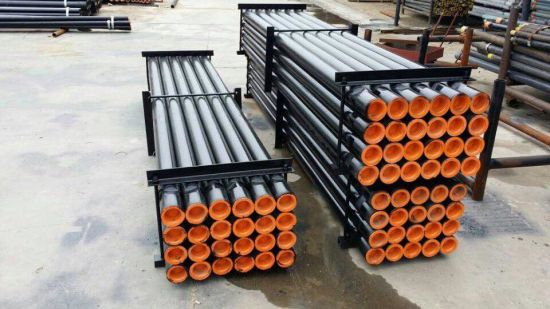
ALDEAL LTD INQUIRY, for Offshore Drilling TUBES
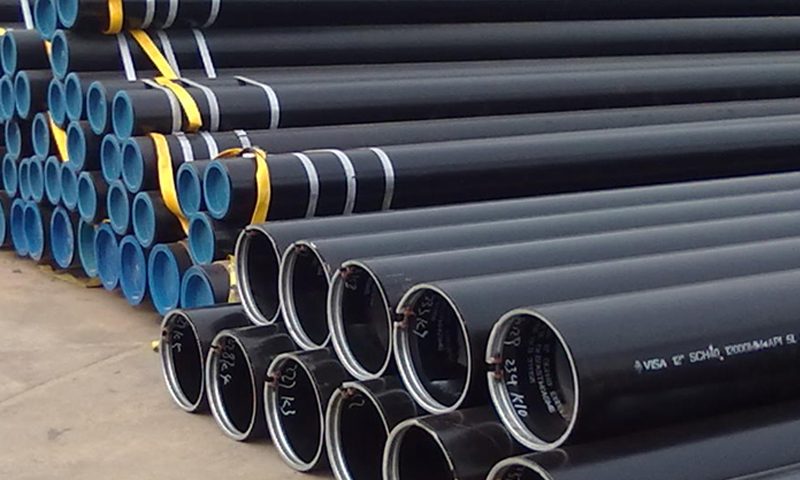
July 20, 2022Seamless pipes are demanding and high-technology products. Especially in the oil and gas industry, but also in power plants, they are subject to the most stringent quality requirements. Ultrasonic NDT benches are ideal to detect potential inhomogeneities at industrial speed in rough environments. Using Phased-Array technology with additional Paint-Brush technique gives the opportunity of gapless detection up to ± 45° relative to the axial orientation at full production speed [1]. The use of 2D-Phased-Array Transducers has the potential to overcome this limitation, since they naturally allow to detect defects under any orientations. Within this paper, we present a fully parallelized, automated pipe testing machine which has significantly improved the possibilities of comprehensively testing seamless steel pipes at full production speed. It is based on a 2D- Array with more than 700 channels, capable to detect inhomogeneities oriented on the full circle in a gapless way, embedded into a 2-carriage gantry solution operating in an industrial environment at a Vallourec mill located in Düsseldorf-Rath (Germany).
Due to the high elongation involved in the production process, most of the surface imperfections on hot-rolled seamless pipes are positioned in a predominantly longitudinal direction. However, it may happen, that other inhomogeneities orientations can occur, which raises the interest, to test the steel pipes for larger angle ranges, ideally for all potential oblique orientations. Using standard methods, a series of transducers is needed, to close the full circle (360°) of potential defect orientations. A series of transducers, each for a specific angle, is impractical for cost, speed and maintenance reasons Basically, imperfections can be characterized by their length and their orientation. The orientation of the imperfection is described by an angle, which is defined by the rotation angle of the imperfection axis with respect to the longitudinal pipe axis (see Figure 1, left). According to current standards, artificial defects like reference notches shall be detected from two sides corresponding to the opposing sound direction I and II, respectively. Based on this, a typical nomenclature for these reference notches combines the orientation and the sound beam direction. Taking into account all possible orientations for detection it is handier to introduce the polar projection angle for clear assignment. An illustration of both nomenclatures is given in Figure 1 on the right.
IF YOU WANT READ MORE ,PLEASE CLICK DOWNLOADS PDF URL : Ultrasonic testing of seamless steel pipes with matrix arrays



-steel-pipe.jpg)
